Custom Blog Design

Wednesday, November 7, 2012

Tutorial & Giveaway!

Hi there! Over on my sewing blog, Ruffled Creases, I am having a giveaway for this cute ruffled scarf! Super fun ruffles and polka dots!
There is also a tutorial there for you in case you want to learn to make this fun scarf!
 
Good Luck!

Monday, November 5, 2012

Well, I am alive! Can you believe that! I have been so busy with life that I totally let this blog go for a bit! I have decided to start up a sewing blog. A blog that will mostly be about sewing, with a little bit of this and a little bit of that. So, I would love for you to come find me at my new blog and follow me there. I have lots of ideas and thoughts for the new blog that I can't wait to share with you! So, when you get a second, please check out my new blog. Thanks!

 
Here are just a few things that I showed in my first post...


So, I will still post fun crafting ideas here, but anything to do with sewing will be over at Ruffled Creases.  I do have some posts that I need to do for Crafty Girls blog that I am sure you will love! So, stay tuned!

Wednesday, July 18, 2012

Gross Grout Cleaning!

As most homes in the southwest...I have a lot of tile in my home. And, those of you with lots of children, like me, understand how hard it is to keep the grout clean. Well, on Pinterest, there were a lot of ideas on how to clean your grout...so I decided to try one. The one I tried was from Aprrils Opinion blog.

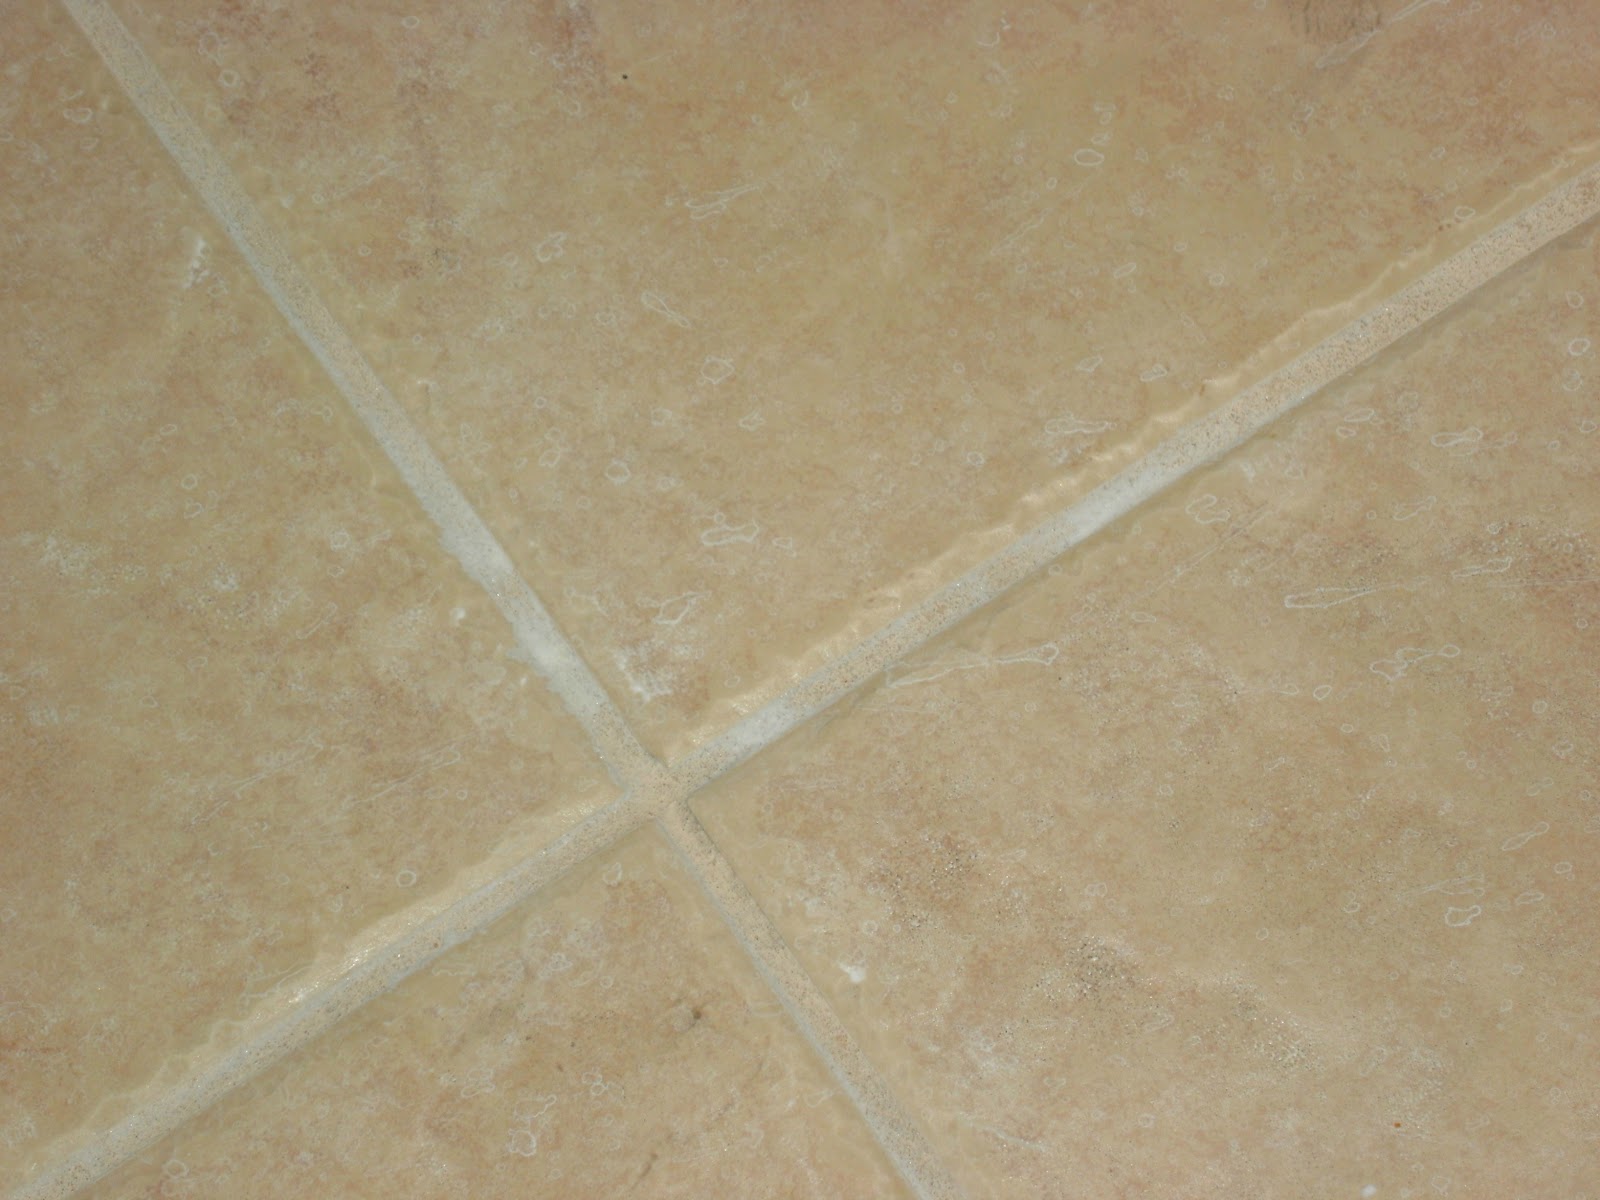
First I want to show you my floors...
I know! GROSS! I hate grout!

Between the fridge and island (where the kiddo's eat) is even worse!

So, as you can see, I was desperate!

Here is the formula that was recommended...(copied from Aprril's blog)

7 cups warm water
1/2 cup baking soda
1/3 cup ammonia
1/4 cup vinegar

Now this much liquid didn't even close to fit into my tiny little spray bottle and it probably won't fit in yours either, so here is the recipe halved and quartered.

Halved
3 1/2 cups water 1/4 cup baking soda
2 Tbsp + 2 tsp ammonia
2 Tbsp vinegar


Quartered
1 3/4 cup water
2 Tbsp baking soda
1 Tbsp + 1 tsp ammonia
1 Tbsp vinegar

I used the quartered version for the pics below. I also wrote the formula on a piece of paper and taped it to the bottle. Make sure never to mix bleach with ammonia, you will die or something...


Here is the method:

First mix the ingredients and give the bottle a good shake.
Spray the grout (I started with 2 tiles at a time) and let the spray sit and absorb a little into the grout. Be generous.
Grab a grout brush, scrub brush, or tile brush with a handle and scrub the grout vigorously where the spray has been sitting. Don't get it in your eyes, trust me.
Use a clean damp rag to wipe each line of grout right after you scrub it to pick up all that dirty liquid, might be handy to keep a bowl or bucket of warm water nearby because you'll want to continuously clean the rag.
Depending on the color of your tile, you may want to mop the whole thing when you're done because the baking soda may or may not leave some white residue. Personally, I mopped and towel dried the floor.

OK, so I did all that...here are some pictures of the outcome...

Already much better! It does leave a white film on everything the liquid touches!

Here is the grout after wiping it down.

And, after I went back and mopped everything down.

I have to say, I am pretty surprised! It does look great.

The bummer to this...the grout just gets dirty again. It's been two weeks since I tried this and it definitely is staining up again. But hey, for a couple weeks it looked great!

Thanks Aprril!

Monday, July 16, 2012

A little bit of black paint!

That's right...a little black paint never hurt anything! In fact, I think that it is safe to say, a little black paint helps everything! Example...
Here is the hutch that is in my dining area of my kitchen. I love it. It has a whitewash on the simple pine wood.

It has served me well...but the dishes kinda get lost in the hutch, so I needed to change that.

So, on a whim, I painted it black! Now all you experts out there cover your ears for a moment...

I didn't dust, clean, strip, sand or anything before I slapped the paint on!!!! And, it still worked!

My girlfriend asked if I was going to leave the inside natural while I was painting the hutch...hadn't thought about it until that moment, and so I went with her idea, and I love it.

Even though the back of the hutch is still natural, I think that the plates and such still look great!

So, now on to painting the table and chairs...I will keep you posted! And, don't be afraid to paint something with a little bit of black paint!

Oh, and by the way, the little cream sample on the wall to the left of the hutch is the color of the wainscoting that I hope to put up soon! :)

Sunday, July 15, 2012

Perpetual Birthday Calendar

Finally! Five minutes to sit, relax and show you a fun perpetual calendar that I made for my family. Both my husband and I are from large families, and every year I make a goal (that I have broken every year!) to remember all the birthdays. So, to try to help with that, I came up with this perpetual calendar for my kitchen.
The best part about this calendar is that I will see it everyday so I will have no excuses for not remembering a family member's birthday!

I love the line of paper from Stampin' Up that I used...it is called Patio Party

Gotta have tulle in the project somewhere!

I started this project out with a 12x12 wood frame that I painted white. I then made a scrapbook page for the background of the calendar. Super easy! Yes, that is a dinner doily!

I then took a standard clip-board and cut the length down so it would measure 9x9 inches. I decorated the clip-board with coordinating papers and ribbon.

I printed out each month and mounted the months onto colored card stock. I cut these to measure 8x8 inches.

Then, I went through each month and added the birthdays and anniversary's

I made a couple of banners and added them to the frame. Once all that was done, I put the background paper in the frame, hot glued the clipboard to that paper and added the banners and I was done!

And that's it... super easy and fun! It definitely adds a bit of color to a dark corner in my kitchen!

Happy Sunday!


Sunday, July 8, 2012

Alien Abduction!

OH MY GOODNESS! I was abducted by aliens!!!!
I know some of you won't believe me, but it's true! Why else would I have abandoned my blog for almost two months!


I met some really great friends while I was away!


The aliens even taught me a few crafts while I was with them! So, I have so much to share with you, so stay tuned, some really great thoughts that are "out of this world" are coming your way!

Thanks for standing by!


Wednesday, May 16, 2012

Altered Frame

Hello everyone! I thought that I would share with you a fun frame I made today. I got my inspiration from the cover of Scrapbook, Etc.
I love these frames with the banners going across them that are sooooo popular right now! I did change up some things though to make it more my own....
I decided to use a black frame, only because it matches my house better 
I added three fabric rolled flowers in the corner of the frame 
I decided to use twine and mini clothes pins instead of the wire 
And, last but not least...I left the glass insert in the frame and added a coordinating paper in the frame 
I think it is fun to see something that you like and use it as an inspiration to make something that you love!

Related Posts Plugin for WordPress, Blogger...